If your aim is soft, wearable movement without reaching for a wand, this The Hair Edit The Curler review comes down to one practical question: can a padded heatless curler give enough shape while staying comfortable enough to actually use? The short answer is yes for loose waves, gentle bends and second-day-looking texture, but it is less convincing if you want tight, polished curls or very long-lasting definition on heavy hair.
At a glance
- Best result: soft, relaxed waves with a slightly undone finish.
- Most suitable hair: medium to long hair that already holds some shape, especially fine to medium densities.
- More challenging hair: very thick, very long, very straight or slippery hair unless you section carefully and use enough setting time.
- Not ideal for: short layers that cannot wrap securely around the curler.
- Main appeal: a gentler styling routine with no hot barrel, no clamp marks and less need to restyle daily.
What it is and how it works
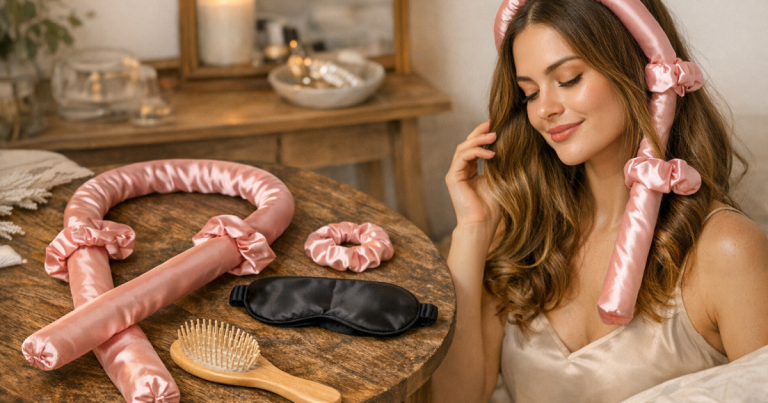
The Hair Edit The Curler is a heatless curling tool designed to sit across the head while you wrap sections of hair around it. Like most soft curling ribbons and rods, it relies on tension, moisture level and time rather than heat. The hair dries or settles into the curve of the tool, then drops into waves when you unwrap it.
That makes it gentler than using a curling tong, but it also means the finish is more dependent on your hair’s natural behaviour. Heat can force a stronger shape quickly; a heatless curler needs the right prep, even wrapping and enough wear time. If your hair normally falls flat within an hour, do not expect miracles from the tool alone. Think of it as a low-damage shaping method, not a replacement for every curled style.
The finish is usually softer than a spiral kit and less root-lifting than rollers. It is most useful when you want movement through the mid-lengths and ends, not a salon blow-dry effect from the scalp.
How to use it for the softest, neatest waves
1. Start with hair that is slightly damp or product-prepped
The sweet spot is hair that feels barely damp, not wet. If it is too wet, it may not dry fully around the curler and the result can look limp or uneven. If it is completely dry and very smooth, the wave may not set. On freshly washed hair, let it air-dry most of the way first. On dry hair, use a light mist of water or a small amount of styling cream through the mid-lengths and ends.
Before wrapping, remove knots gently. Heatless styling shows up tangles because the hair is held in one position for hours. If your ends are fragile or frizz-prone, use the method in our guide to detangling hair before heatless styling without frizz so you are not pulling through snags as you wrap.
2. Place the curler securely before you start wrapping
Position the curler evenly over the crown, with similar lengths on each side. If it slips while you work, your waves may start lower on one side than the other. A claw clip at the top can help hold it in place during wrapping, especially if your hair is silky or freshly washed.
3. Wrap away from the face for a softer, more flattering bend
Take a front section and wrap it away from your face, then keep adding hair as you move down the side. Keep the tension smooth but not tight. Pulling too firmly can flatten the roots and create an uncomfortable set; wrapping too loosely can make the curl drop before it has formed. Secure the ends carefully so they do not kink or flick out in a random direction.
4. Let it set for long enough
For a casual wave, a few hours may be enough on responsive hair. For better hold, overnight wear usually gives a stronger result, provided the curler is comfortable for your sleeping position. If you sleep on your side, check that the bulk of the tool does not sit exactly where your head meets the pillow. A silk or satin pillowcase can reduce friction if your hair roughens easily overnight.
5. Unwrap gently and separate with your fingers
Do not brush the waves straight away unless you want a much fluffier finish. Slide the hair off the curler, let the shape settle for a minute, then separate with your fingers. A tiny amount of lightweight oil or serum on the palms can help smooth the ends, but too much product will collapse fine hair.
Hair-type results: where it works best
Fine hair: This is one of the better hair types for this curler, provided you avoid heavy leave-in products. Fine hair can pick up a soft bend quickly, but it can also look flat at the root. Wrap with light tension and consider a root-lifting product separately if your crown collapses easily.
Medium-density hair: This is likely the easiest match. The curler can create soft, balanced waves without needing lots of extra sectioning. For a more polished finish, make sure both sides are wrapped in similar-sized sections.
Thick hair: Thick hair can work, but it needs more discipline. Large sections around one curler often dry unevenly and produce waves on the outside with straight patches underneath. If your hair is dense, follow a more deliberate sectioning routine, such as our advice on sectioning thick hair for even heatless waves, rather than wrapping everything in two big sides.
Very straight or slippery hair: Expect a looser result. You may need slightly damp hair, a light mousse or texture spray, and a longer set time. Avoid wrapping freshly conditioned hair that feels coated, as the wave may slide out quickly.
Wavy or frizz-prone hair: The tool can refine natural movement, but frizz control matters. Use a smoothing leave-in sparingly and wrap neatly so the surface of each section lies flat. If your natural pattern is uneven, the result may look more like relaxed texture than uniform curls.
Short hair and layers: The shorter the hair, the harder it is to keep every piece wrapped. Long face-framing layers may slip out, while shoulder-skimming hair can produce more of a bend than a full wave. If your hair sits above the shoulders, the technique in our guide to using a heatless curling ribbon on short hair will be more useful than copying long-hair tutorials.
Where it sits against other heatless methods
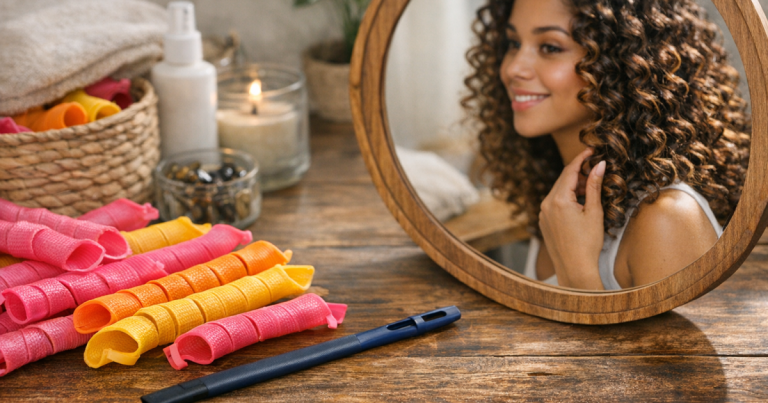
The Hair Edit tool is best viewed as a soft-wave maker rather than the most structured heatless option. A satin rod gives a similar relaxed finish, Velcro rollers are better for lift and rounded ends, and spiral kits create more defined curls but take more patience to install. A product such as the Kitsch Satin Heatless Curling Set sits in the same general category, so the real difference is usually comfort, grip, fabric feel and whether the length suits your hair.
- Compared with Velcro rollers: the curler is easier for loose lengths, but rollers are better when you want volume around the crown or a bouncy fringe.
- Compared with spiral curl kits: the curler is quicker to understand, but spiral kits usually create more uniform ringlets.
- Compared with plaits: it gives a rounder, smoother wave rather than a crimped bend.
- Compared with a curling wand: it is gentler and more relaxed, but less precise and less predictable on resistant hair.
What to check before relying on it for an event
Do a trial run before wearing the result for a wedding, party or full workday. Heatless curls can look brilliant in the morning and then soften quickly if your hair is heavy, freshly conditioned or exposed to damp weather. In the UK, humidity and drizzle can undo light waves faster than expected, so a flexible-hold hairspray may help without making the finish crunchy.
Check the comfort level too. A curler that feels fine for half an hour may annoy you overnight, especially if you are a restless sleeper. Also look at whether the ends stay wrapped. If they spring out, the final centimetres of hair can look straighter or frizzier than the rest.
Finally, inspect how balanced the two sides look. Heatless tools are forgiving, but uneven section size can leave one side bouncier than the other. If that happens, use smaller sections near the face and keep the wrap direction consistent.
The Hair Edit The Curler review verdict: is it best for soft heatless waves?
Yes, if your definition of “best” is a comfortable, low-effort route to loose, pretty movement. It is most convincing for soft waves, relaxed bends and hair that looks styled without appearing overly curled. It is not the strongest choice for tight curls, major root volume or stubborn hair that needs heat to hold a shape.
For fine to medium hair, it can be a genuinely useful part of a lower-damage routine. For thick or long hair, it is more of a technique-dependent tool: section well, prep lightly and give it proper setting time. For short hair, it may work around the front and sides, but it is unlikely to be as straightforward as it looks on longer lengths.
The overall takeaway is simple: choose it for softness, comfort and reduced heat use, not for maximum curl control. If you already like heatless styling and want a more polished wave than plaits, it is worth considering. If you need reliable, structured curls every time, a more defined heatless system or occasional heat styling may suit you better.
FAQ
Can you use The Hair Edit The Curler on wet hair?
Slightly damp hair is better than wet hair. Wet hair may not dry fully while wrapped, which can leave the waves weak, uneven or flat by the time you take the curler out.
Will it work on thick hair?
It can, but thick hair needs smaller, cleaner sections and more setting time. If you wrap too much hair at once, the outer layers may wave while the underneath stays almost straight.
Does it create curls or waves?
Expect waves rather than tight curls. The result is usually soft, loose and relaxed, especially once you separate the hair with your fingers.
Is it comfortable to sleep in?
That depends on your sleeping position and how securely you place it. Back sleepers often find this style of curler easier than side sleepers, but a trial night is the best test.
How do you stop the ends looking frizzy?
Comb through the ends before wrapping, keep them flat against the curler and use a small amount of smoothing product if your hair needs it. Avoid overloading the ends, as that can make fine hair drop.