Sleeping in curlers should give you soft shape by morning, not a beautiful bend through the lengths with a flat crown. The trick to sleep in heatless curlers without flattening your roots is to separate root lift from curl formation: keep the curler away from the scalp, set the crown with height, and avoid anything that presses the top of the head down. That means your prep, parting, pillow set-up and morning release all matter.
Most root-flattening happens because damp hair is compressed while it dries, or because the curler is placed too close to the scalp. Once you know where the pressure points are, overnight curling becomes much more predictable.
What to know first
For root volume, the curler itself should not do all the work. Heatless rods, flexi rods, soft rollers and robe-belt methods mainly shape the mid-lengths and ends. Your roots need a different approach: lighter product, more airflow before bed, careful section direction and minimal pressure at the crown.
- Fine or low-density hair: use smaller sections but avoid heavy styling creams near the roots. Too much product can make the crown collapse even if the curl forms well.
- Thick hair: let the root area dry more fully before wrapping, then use fewer, wider sections through the top so the crown is not pulled tight.
- Wavy hair: aim for lift and soft hold rather than tight tension. Over-wrapping can stretch the natural wave at the roots.
- Curly and coily hair: focus on gentle stretching and controlled placement. Avoid tugging sections flat from the scalp before wrapping.
- Short hair: keep the curling tool low enough to avoid crown pressure, and use small clips only where they will not dig in while you sleep.
Step 1: Start with roots that are dry enough
The most common overnight mistake is wrapping hair when the roots are still too damp. Damp lengths can set into curl; damp roots tend to set into whatever shape they are pressed into. If your crown is lying against a pillow while drying, it can dry flat even if the ends look lovely.
Before bed, aim for roots that feel dry or almost dry to the touch. The lengths can hold a little moisture if your hair needs it for curl formation, but the scalp area should not feel cool, wet or heavy. If you wash at night, give your roots time to air-dry first, or rough-dry with cool airflow if that is already part of your routine.
Product placement matters just as much as moisture. Apply leave-in conditioner, curl cream or styling lotion from the mid-lengths down unless your root area genuinely needs it. If you want lift, use only a light mist or very small amount near the crown. Roots that feel coated before bed are more likely to look limp by morning.
Step 2: Place the curler lower than you think
For most overnight sets, the curler should sit around the upper mid-lengths rather than directly at the scalp. This leaves the root area free to lift naturally instead of being pinned flat under a rod or roller. It also makes sleeping more comfortable because the firmest part of the set is not pressing into your head.
Try this basic placement check: when you have wrapped a top section, slide a finger gently under the root area. If the hair is pulled tight and smooth from the scalp to the curler, loosen it. You want slight elevation at the roots, not tension. The finished section should feel secure, but it should not feel like it is anchoring your scalp.
For face-framing sections, wrap away from the face if you want a softer, lifted finish. For a bouncier blowout effect, direct the front sections slightly upwards before wrapping. For a flatter, sleeker look, wrap downwards — but avoid that if your main problem is losing crown volume.
Step 3: Build lift into the crown before you lie down
The crown needs its own mini set. Instead of pulling top sections straight down into the curler, lift each crown section up and slightly back before wrapping the lengths. This encourages the roots to dry with height rather than being stretched against the head.
If your hair is fine, use a very light root mist or styling spray before lifting the crown, then let it become touch-dry before wrapping. If your hair is thick or coarse, use tension through the lengths but keep the first few centimetres near the scalp relaxed. For curly textures, preserve your natural root pattern by lifting from underneath rather than brushing the root area smooth.
A useful test is to look at the shape from the side before bed. If the top looks sleek and close to the head already, it will usually be flatter by morning. If the crown has a little airy height before you sleep, the final result has a much better chance of keeping lift.
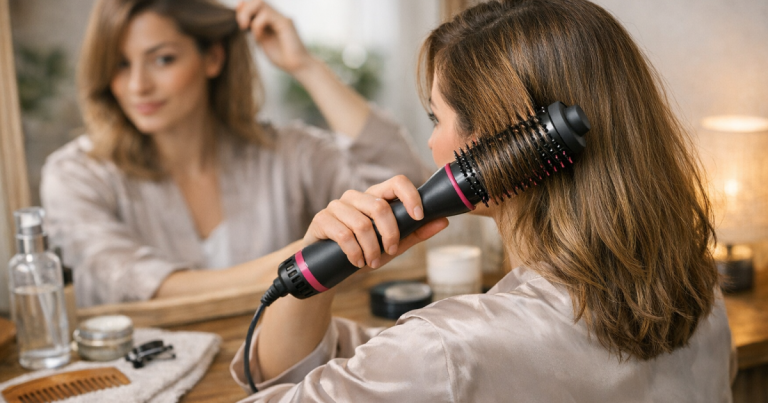
If you sometimes switch between overnight sets and heated smoothing, the same principle applies: lift has to be created at the root before the shape is finished. The technique in using a hot brush without flattening your roots is helpful for understanding root direction, even when you are styling without heat.
Step 4: Choose a sleep position that protects the crown
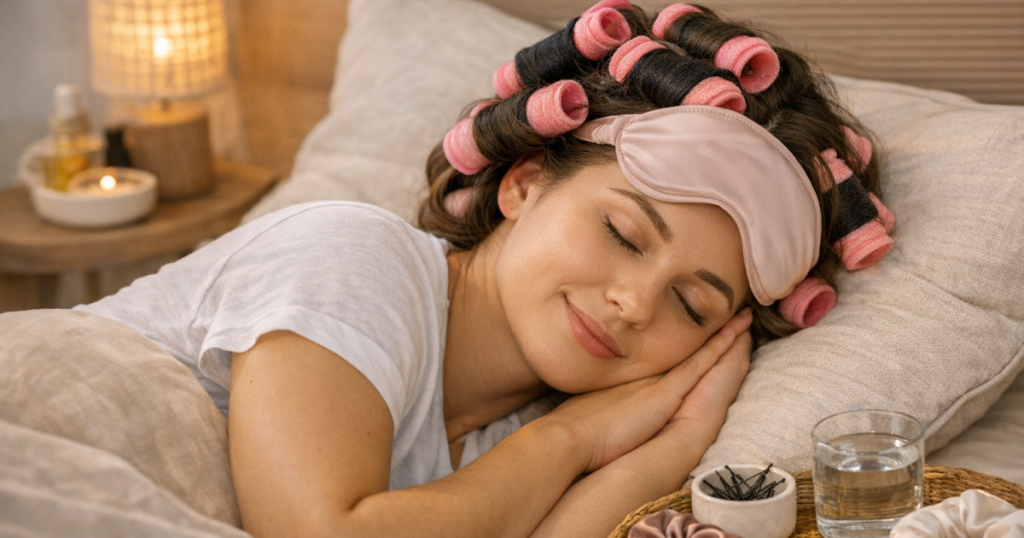
Your pillow can undo a careful set if the curler sits exactly where your head rests. Back sleepers often flatten the crown and back sections; side sleepers usually squash one side more than the other. You do not need to sleep perfectly still, but you can reduce pressure.
- Back sleepers: keep the largest roller or rod slightly lower at the back of the head, not high on the crown. Let the root area above it stay free.
- Side sleepers: place the bulk of the wrapped hair towards the top or back rather than directly over the ear you sleep on.
- Restless sleepers: use a soft scarf, bonnet or satin pillowcase to reduce friction without clamping the roots flat.
- Short hair sleepers: use smaller, softer curlers and avoid bulky clips at the sides, as they can push short layers into dents.
A loose satin or silk wrap can help, but avoid tying it firmly across the crown. The aim is to stop friction and flyaways, not compress the hair. If a bonnet leaves an elastic mark or makes your roots sweat, it may be too snug for overnight curling.
Step 5: Secure the ends, not the roots
Heatless curlers often slip because the ends are not anchored properly. The instinct is to tighten the whole section, but that pulls the root flat. Instead, keep root tension relaxed and focus on securing the final wrap at the ends.
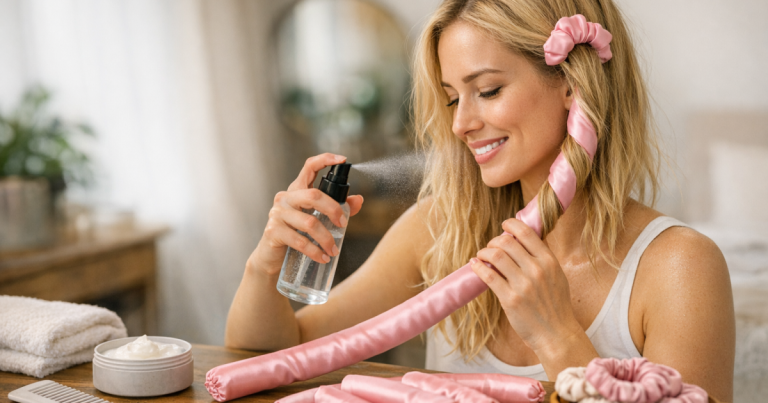
For a long satin rod, make sure the ends are tucked smoothly and held with a soft scrunchie rather than a tight elastic. For soft rollers, close the roller firmly enough that it stays put, but do not roll it right up to the scalp unless you specifically want volume at that point and can sleep without pressure on it. For flexi rods, bend the ends just enough to hold the hair; over-bending can create awkward kinks.
If your ends pop out, lightly mist them before wrapping or apply a pea-sized amount of styling cream to the last few centimetres. Avoid adding more product to the roots to solve an end problem. That usually creates the opposite result: defined ends with a collapsed top.
Step 6: Adjust the method for your hair length
Short hair and layered cuts
Short hair needs more precise placement because there is less length to distribute around the curler. A bulky rod can sit too close to the scalp and press layers flat. Smaller soft rollers, bendy rods or a narrow heatless ribbon usually work better than a thick robe-belt wrap.
Keep top layers lifted while wrapping, and do not worry if every short piece is not caught perfectly. Trying to force very short layers around a large curler can create dents at the root. If you use a branded set designed for softer wrapping, the notes in the Invisibobble heatless curling set review for short hair may help you judge whether that style of curler is realistic for your length.
Medium hair
Medium lengths are often the easiest for overnight curlers, but the crown can still go flat if the top sections are wrapped too tightly. Use two balanced side sections for the main shape, then treat the crown as its own area. Lift it up and back before wrapping the lengths, and keep any ties lower than the root area.
Long hair
Long hair adds weight, so root lift can drop while the curl sets. Avoid pulling long sections tight from the scalp. Instead, start wrapping slightly lower and keep the roots airy. If your hair is heavy, a light mousse or root spray used sparingly at the crown can help, but only if it dries before you sleep.
Morning release without losing lift
How you take the curlers out is just as important as how you slept in them. Sit upright before removing anything, then release the bottom sections first. If you pull the curler out from the top or drag it downwards, you can stretch the roots and soften the curl before it has settled.
Once the curlers are out, avoid brushing from the scalp straight away. Shake the roots gently with your fingertips, then separate the curls through the lengths. For fine hair, flip your head forward briefly and massage only the root area. For thick or textured hair, use a small amount of oil or serum on the palms and separate the curls without raking through the crown.
If one side is flatter, lift that section at the root and clip it up for a few minutes while you get ready. This works best when the hair is fully dry. If the curl has set but collapses later, the troubleshooting steps in fixing heatless curls that drop by lunchtime are a useful next read.
Common mistakes that flatten roots overnight
- Wrapping too close to the scalp: this can create good curl formation but little lift. Move the curler lower and lift the section before wrapping.
- Using too much product at the crown: heavy creams, oils and leave-ins can make roots separate and sit flat. Keep richer products on the lengths and ends.
- Going to bed with wet roots: the roots dry into the shape of your pillow. Let the scalp area dry first.
- Tying a scarf too tightly: a firm wrap can preserve smoothness but press out volume. Keep it loose and friction-focused.
- Brushing immediately in the morning: this can pull the root flat before the curl has settled. Finger-shape first, then decide whether you need a brush.
Helpful questions
Can I sleep in heatless curlers every night?
You can use soft overnight curlers regularly if they do not create scalp tension, tangling or breakage. Vary the placement slightly and avoid tight ties so the same root areas are not pulled each night.
Should heatless curlers go on wet or dry hair?
For root volume, mostly dry roots are safer. Slightly damp lengths can help curls form, but wet roots are more likely to dry flat against the head.
Why are my curls good at the ends but flat on top?
The curler is probably shaping the lengths while the crown is being stretched or compressed. Lift the crown separately, use less product near the roots and keep the curler away from the scalp.
How do I stop overnight curlers leaving dents?
Use softer ties, avoid hard clips where your head touches the pillow, and do not over-bend flexi rods. Dents usually come from pressure, not from the curl pattern itself.
What helps fine hair keep root lift overnight?
Fine hair usually needs dry roots, light product and loose crown elevation. Avoid heavy creams, thick oils and tight wraps that make the roots clump together.
Why it matters
Heatless curls look more polished when the root area matches the movement through the lengths. Flat roots can make even well-formed curls look heavy, while lifted roots give the shape balance and make the style feel intentional. Keep the scalp area dry, airy and free from pressure, then let the curler do its job lower down the hair. That small shift is often the difference between curls that look slept-on and curls that look softly styled.