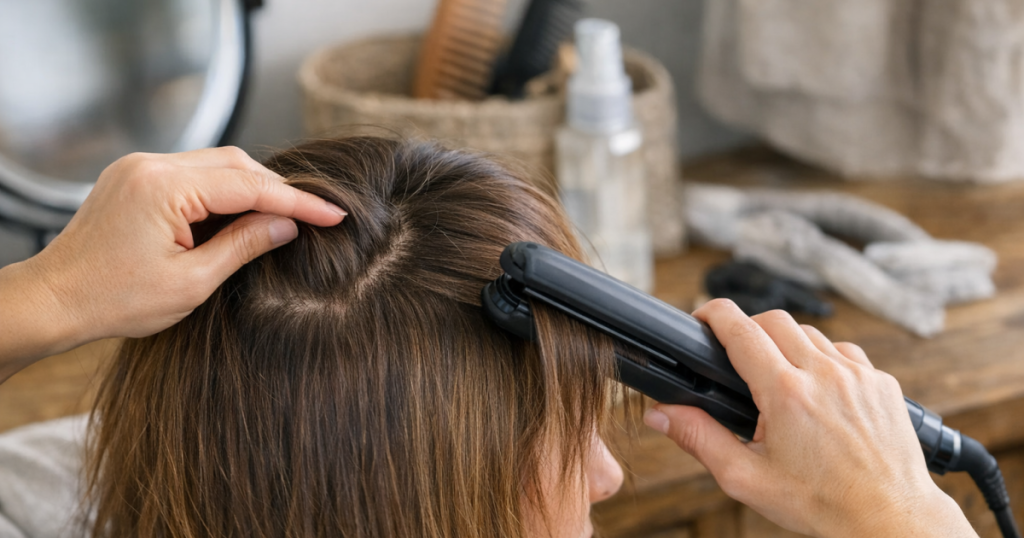
A root kink usually appears when the plates close too firmly, the wrist pauses, or the section enters the tool at the wrong angle. If straighteners leaving kinks near the roots is your recurring styling problem, the fix is less about buying a new tool and more about changing tension, section size and the first 5 cm of movement.
The aim is to glide before the hair has time to crease. Once the root area is smooth, you can decide whether to keep the lengths sleek, add a bend, or switch to a lower-tension method for softer shape.
The quick root-kink reset
- Work on fully dry, detangled hair so the plates do not catch or pause.
- Take narrower sections near the crown, temples and fringe, where dents show most.
- Place the straightener slightly away from the scalp rather than clamping flush at the root.
- Close the plates lightly, then move immediately; do not squeeze and hold.
- Keep the wrist neutral for the first pass, then add curve or direction once the tool is moving.
- Reduce heat if the hair marks quickly, feels rough, or loses shine after styling.
Why the bend appears near the scalp
The root area is unforgiving because it has less free length to absorb pressure. If you clamp at a sharp angle, the hair folds where it enters the plates. If you hesitate for even a second, the heat sets that fold into a visible ridge.
Most cases of straighteners leaving kinks come down to three habits: sectioning too much hair at once, gripping the plates too tightly, and turning the wrist before the roots have passed through. The result is a small crimped line that looks like a styling mistake rather than natural movement.
Hair condition matters too. Fine hair can mark quickly because it sets fast. Thick or coarse hair may need smaller sections so the outer strands and inner strands heat evenly. Curly or textured hair often needs more careful tension control, because pulling too hard at the root can flatten the pattern unevenly while still leaving a dent.
Step by step: smooth the first few centimetres without a dent
1. Start with clean, dry, tangle-free roots
Roots that feel damp, sweaty, product-heavy or tangled are much more likely to kink. Use your fingers or a brush to loosen the section before the straightener goes near it. If you washed your hair, make sure the underneath layers and hairline are completely dry, not just the surface.
Product build-up can also make the plates drag. A heat protectant is still sensible for heat styling, but heavy oils, thick creams or too much spray at the root can make the tool stick and create uneven pressure.
2. Take smaller sections than you think you need
A large section forces you to clamp harder to control it. That extra pressure is one of the fastest ways to create a root dent. Around the front hairline, parting, crown and nape, try sections no wider than the plate and shallow enough that you can see through them slightly when lifted.
For dense hair, split each area into thinner horizontal layers. For fine hair, you may not need many layers, but you still need a clean section that enters the plates evenly from edge to edge.
3. Lift the section before placing the straightener
Hold the section out from the head at a gentle angle rather than dragging it flat against the scalp. This gives the hair a smoother path into the plates and stops the tool from pinching at the root.
For a sleek finish, lift the section just enough to keep tension. For volume, lift it higher, but avoid bending the hair sharply backwards. A high lift with a hard clamp can create a square-looking ridge at the base.
4. Place the plates just below the root
You do not need to clamp directly on the scalp to smooth the root area. Position the straightener a short distance down the section, close the plates gently, and move straight away. The heat will still soften the root line without pressing a crease into the hair.
Keep the plates parallel to the section. If one edge bites in before the other, the hair folds diagonally and leaves a visible mark, especially on glossy dark hair or freshly coloured lengths.
5. Glide first, then turn
If you want a flick, bend or curl, resist turning the straightener immediately at the root. Begin with a short, smooth glide while your wrist stays neutral. Once the first few centimetres have passed through, then rotate the wrist gradually.
This is particularly important around face-framing layers. A dramatic twist too close to the scalp can leave a dent that is hard to disguise, even if the rest of the curl looks good.
6. Use a comb-chase only when it helps
A comb-chase technique means guiding a comb just ahead of the straightener so the hair enters the plates evenly. It can be useful on thick, wavy or uneven sections, but it should not become a tug-of-war. If the comb snags, stop and detangle rather than forcing the tool through.
For very fine or fragile-looking hair, a comb-chase can create too much tension at the root. In that case, use your fingers to hold the section lightly and focus on a slower, softer pass.
Adjust the technique by hair type
- Fine or flat hair: Use light pressure and fewer repeated passes. Fine strands can set into a crease quickly, so keep the tool moving and avoid clamping while you reposition your hand.
- Thick or coarse hair: Use smaller sections and consistent tension. Do not compensate for a bulky section by squeezing harder; that usually creates a dent on the outside while the inner hairs stay less smooth.
- Curly or textured hair: Stretch the section gently before the plates close. Work in layers and avoid dragging the straightener from the scalp with force, as this can flatten the roots unevenly.
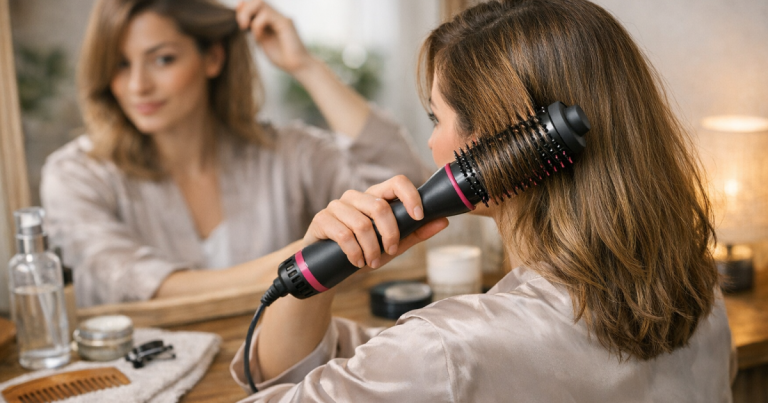
- Frizz-prone hair: Make sure the roots are fully dry and product is evenly distributed. If puffiness is the bigger issue after smoothing, a hot air tool may suit some wash-day routines better; these tips on using a hot air brush on frizz-prone hair explain how to avoid an overly fluffy finish.
- Short layers, fringes and bobs: Use the corner of the plates with care, but do not clamp the shortest pieces too close to the scalp. Short hair shows angular marks quickly because there is less length to soften the line.
If the kink happens when curling with straighteners
Root dents are especially common when using straighteners to curl because the first movement is often too abrupt. The hair gets clamped, twisted and pulled before it has started moving through the plates, so the bend forms right where the curl begins.
Start with the straightener vertical or slightly diagonal, depending on the direction of the curl. Clamp lightly, glide a little, then rotate. If you rotate first and glide second, the plates press a hard corner into the section.
For more detailed curling fixes, including how to avoid clamp marks through the mid-lengths, use this guide to curling hair with straighteners without kinks. The same principle applies at the root: the hair should travel through the tool before the shape is set.
Checks before you blame the straightener
- Plate alignment: If the plates do not meet evenly, they may grip one side of the section harder than the other. Check whether the tool closes smoothly without catching.
- Plate edges: Very squared-off edges can leave sharper marks if you twist too soon. Rounded edges tend to feel more forgiving for bends and curls, but technique still matters.
- Heat setting: More heat is not always smoother. If your hair creases instantly, feels dry, or looks dull after one pass, use a lower setting where your tool allows it.
- Section direction: Pulling hair in the opposite direction to how it naturally falls can create a ridge when it drops back into place. Style in the direction you want the finished hair to sit.
- Hand position: If your elbow is too high, your wrist may bend sharply. Lower your arm, keep the tool level, and let the straightener travel rather than forcing the hair around it.
- Residue on the plates: Styling product can build up and cause drag. Clean cooled plates according to the tool’s instructions so the glide stays smooth.
When a heatless route makes more sense
If your roots kink because your hair marks easily, your scalp area is hard to reach, or you are trying to reduce heat exposure, heatless styling may give a softer result with fewer hard lines. The trade-off is control: heatless methods usually need more setting time and may not create the same glassy finish at the root.
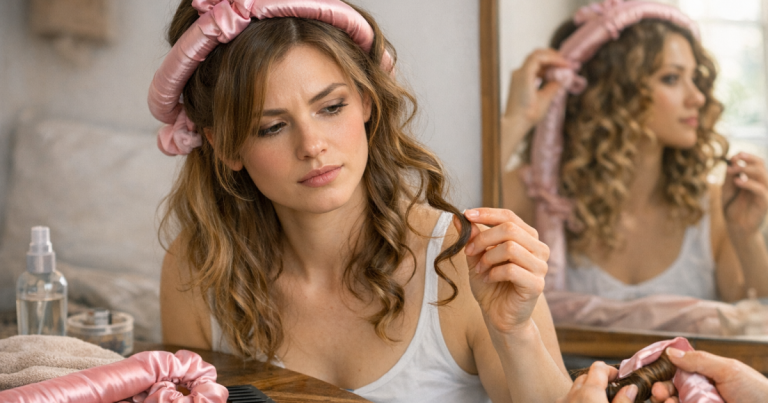
For loose waves, a satin curling rod can create shape through the lengths while leaving the root area less compressed. For lift, Velcro rollers placed at the crown can add body without clamping. For protecting a finished style overnight, a silk wrap can help reduce friction so you are not repeatedly re-straightening the same root sections.
The best route depends on whether your priority is smoothness, body or wave. If you often try to achieve all three at once, it helps to decide which styling goal comes first before picking up any tool; this breakdown of volume, waves or sleekness is a useful next step.
Fast fixes for different finishes
For a sleek, straight finish
Keep the straightener horizontal, use small sections, and glide down with a neutral wrist. Do not bevel the root unless you want movement. Finish by letting the section cool in the direction it should fall before touching it.
For root lift without a ridge
Lift the section up and away from the scalp, then glide through the first few centimetres without folding the hair backwards. Let the hair cool while lifted slightly, or use a roller at the crown after smoothing if your hair drops quickly.
For soft waves
Smooth the root first, then start the bend lower down. This keeps the top area polished while the mid-lengths carry the wave. On shorter hair, begin the wave around eye or cheekbone level rather than at the parting.
For fringes and face-framing pieces
Use less pressure than you use on the back sections. Fringe hair is often finer, shorter and more exposed to product, so it marks easily. Glide forward or slightly to the side, then curve only at the very end if needed.
FAQ
Why do I only get kinks on one side?
One side is often harder to reach, so your wrist angle changes. Stand in front of a mirror, lower your elbow, and check that the plates enter the hair evenly on both sides.
Should I straighten closer to the scalp to remove the dent?
No. Clamping closer usually makes the dent sharper. Place the plates slightly below the root, use lighter pressure, and glide immediately.
Can a lower heat setting stop root kinks?
Sometimes. If your hair sets very quickly, a lower setting can give you more time to glide before a crease forms. Use the lowest effective heat for your hair type and finish.
Do rounded plates prevent dents?
They can make bends and curls smoother, but they do not fix heavy clamping or twisting too soon. Technique still matters more than plate shape.
How do I fix a kink after it has already set?
Let the section cool, mist very lightly with water only if your hair tolerates it, dry the area fully, then re-smooth with lighter pressure. Re-clamping the hot dent immediately can make it more stubborn.
Key takeaways
Root kinks are usually a technique issue rather than a sign that your straightener is unusable. Work with dry, detangled hair, take smaller sections, place the plates just below the root, and keep the tool moving before you rotate or curve.
Fine hair needs less pressure, thick hair needs cleaner sectioning, and frizz-prone hair needs a smooth, fully dry base. Once the root area is controlled, choose your finish deliberately: sleek, lifted, waved or heatless, rather than trying to force every result from the same first clamp.