Soft, brushed-out waves look effortless, but they are easy to over-curl if the barrel is too small or the sections are too neat. A 32 mm curling iron gives you that relaxed salon bend when you use bigger sections, lower tension and a proper cooling step. The aim is not ringlets; it is shape, movement and shine that still looks touchable.
The short version
- Start on completely dry, detangled hair with a light heat protectant.
- Use medium-to-large sections rather than tiny pieces; smaller sections create a more defined curl.
- Clamp or wrap from the mid-lengths, not right at the root, and leave the very ends slightly straighter for a softer finish.
- Hold each section only as long as your hair needs to take shape, then let it cool before brushing.
- Brush out with fingers, a wide-tooth comb or a soft dressing brush, then finish lightly so the wave keeps movement.
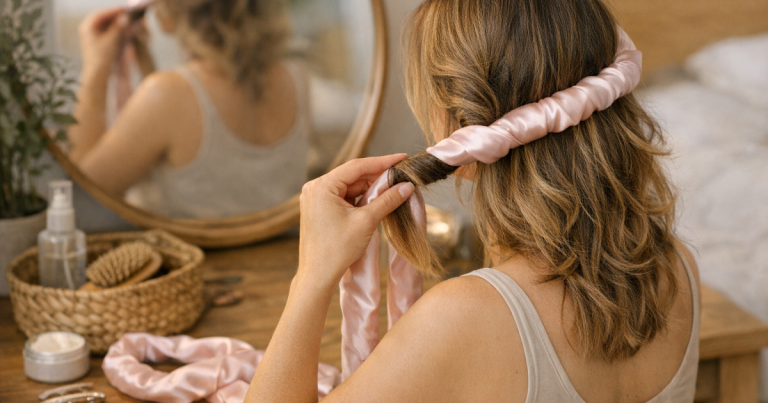
Before you start: prep makes the wave softer
The biggest difference between polished soft waves and stiff party curls is not the tool alone; it is the prep. Hair should be fully dry before a heated tong touches it. Damp patches are harder to style evenly and can make the finish puffier, so spend a little longer drying the underneath layers and the hair around the nape.
Detangle first, then apply a heat protectant that suits your hair texture. Fine hair usually does better with a mist or spray, while coarse, dry or colour-treated hair may prefer a creamier heat protectant through the mid-lengths and ends. A real product example many readers will recognise is ghd Bodyguard Heat Protect Spray, but the key check is simple: use something intended for heat styling and avoid soaking the hair with product.
Keep oils and glossy serums mostly for after styling. Heavy oil before heat can make some hair look separated or limp, particularly around the face. If you like a shiny finish but are unsure how much is too much, the trade-offs are covered in our Moroccanoil Argan Oil Hair Treatment review.
Step-by-step: how to create soft waves
1. Section hair in a way that suits your density
For fine or shoulder-length hair, two horizontal sections are usually enough: clip up the top and style the bottom first. For thick, long or heavy hair, use three or four layers so the barrel can heat each section evenly. The point is not to make the sections tiny; it is to make them manageable.
A good working width is roughly the same width as the barrel or slightly wider. If the section is too large, the wave may fall out quickly because the heat has not reached the inner hairs. If it is too small, the result can look more curled than waved.
2. Choose a sensible heat setting
Use the lowest setting that gives your hair a lasting bend. Fine, bleached, fragile or highlighted hair should start lower and increase only if the wave drops immediately. Thick, coarse or very resistant hair may need a higher setting, but it still benefits from controlled timing rather than holding the tong in place for too long.
If your tool has a temperature guide in the manual, follow that first. Different irons heat and recover differently, so two tools set to the same temperature can feel different in use. Named 32 mm tongs such as ghd Curve Soft Curl Tong and BaByliss Rose Quartz 32mm Curling Tong are both designed for larger, softer curls, but you should still adjust your technique to your own hair condition and length.
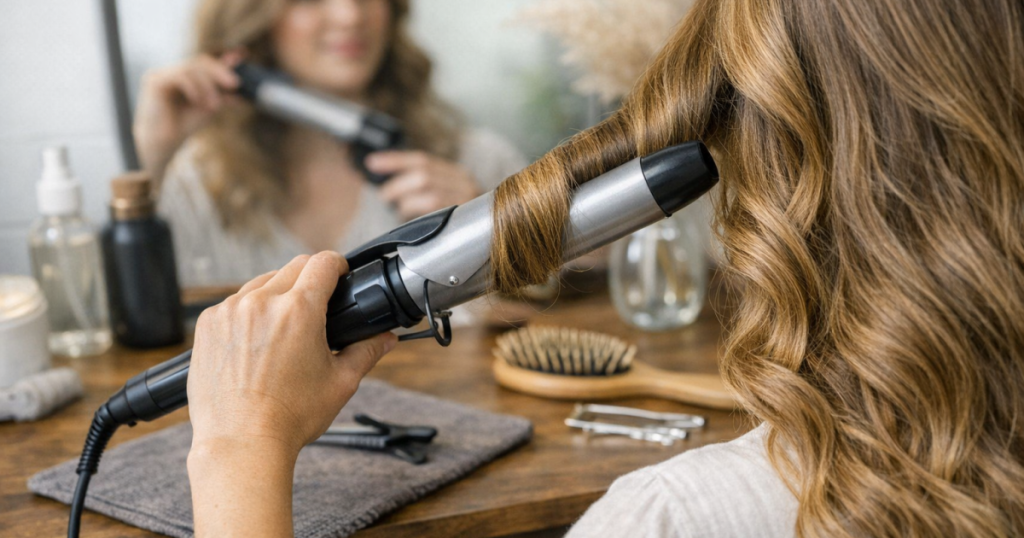
3. Start the curl lower than you think
For modern soft waves, avoid clamping right at the root unless you deliberately want a bouncy blow-dry effect. Place the barrel around the mid-lengths, turn it away from your face, then feed or wrap the remaining length around the barrel. Keep the last couple of centimetres a little straighter if your ends are healthy enough to tolerate it; this creates a relaxed wave rather than a polished spiral.
If your curling iron has a clamp, close it gently rather than pressing hard. Clamp marks usually come from too much tension, too sharp an angle or starting too close to the ends. If you are using a wand-style tool, keep the wrap loose and even, and use the heat glove supplied with the tool where applicable.
4. Alternate direction through the back
The front pieces usually look most flattering when curled away from the face. Through the sides and back, alternate the direction of each section so the waves do not merge into one large curl. This is especially helpful on long hair, where uniform direction can create a single rolled shape rather than soft movement.
For a more glamorous finish, curl everything away from the face and brush out thoroughly once cool. For a looser, everyday finish, alternate direction and keep the ends a little undone.
5. Let every wave cool before touching it
This is the step many people skip. Hair sets as it cools, not while it is wrapped around the iron. After releasing each section, hold the curl in your palm for a few seconds or let it drop naturally without brushing. If your hair falls flat quickly, clip the warm curl up with a sectioning clip while you finish the rest of your head.
Do not judge the result while it still looks too curly. A 32 mm curling iron is meant to create a larger bend, but the wave will look more relaxed once it has cooled and been brushed through.
6. Brush out gently and finish lightly
Once every section is cool, break up the curls with your fingers first. If you want a smoother finish, use a wide-tooth comb or a soft bristle dressing brush from the mid-lengths down. Avoid dragging from the roots unless you want to flatten the top.
Finish with a flexible hairspray or a tiny amount of serum on the ends. The softer the wave, the less product it usually needs. Too much hairspray can make the hair look crunchy; too much cream can pull the wave down.
Adjust the technique for your hair type
Fine or flat hair
Fine hair needs lift before it needs shine. Use lighter prep, avoid heavy oils at the roots and keep your sections medium rather than huge. Curling very large sections may feel quicker, but fine hair often needs a bit more structure to stop the wave dropping by lunchtime.
Do not over-brush after cooling. Shake the waves loose with your fingers, then lightly comb only the ends. If you want more root movement on non-curl days, our guide to using a hot brush without flattening fine hair explains how to keep volume from collapsing.
Thick or coarse hair
Thick hair often needs more organised sectioning, not necessarily a much hotter tool. Work in clean layers and make sure each section lies smoothly against the barrel. If the hair is bunched, the outside can overheat while the inside barely takes shape.
Let the wave cool fully before brushing, and finish with a little smoothing product only where you need it. On dense hair, a large barrel can give a beautiful soft bend, but the wave may look too subtle if the sections are too wide.
Frizz-prone or naturally wavy hair
Frizz-prone hair usually looks better when it is smoothed before curling. That does not mean making it poker-straight first; it means drying the roots and mid-lengths evenly, then using the curling iron to refine the wave pattern. Keep tension smooth but not tight, and avoid twisting the section before wrapping it.
If your natural wave pattern is uneven, curl only the pieces that need polish. Leaving some natural texture between styled sections helps the result look softer and less set.
Short hair and layered cuts
On shorter hair, a 32 mm barrel creates a bend rather than a full curl. That can be ideal for a bob or layered lob, but the technique needs smaller movements. Curl the front away from the face, keep the ends straighter and avoid wrapping very short layers too tightly.
For heavy face-framing layers, style the front pieces last so you can judge the balance. One soft bend through the cheekbone area is usually more flattering than a full spiral.
Common mistakes that make waves look too curly
- Using tiny sections: this creates ringlets. Go slightly wider for a softer, brushed-out shape.
- Curling from root to tip: starting lower keeps the look more relaxed and prevents too much volume at the crown.
- Holding the iron for too long: if the section comes out springy and tight, reduce the time before increasing brush-out.
- Brushing while warm: warm curls stretch and collapse. Let them cool first, then soften.
- Overloading with product: heavy sprays, creams and oils can make waves stiff or stringy.
- Making every curl identical: perfect symmetry can look dated. Varying direction through the back creates a more natural finish.
How to make the waves last without restyling from scratch
At night, let the hair cool completely before tying it back. A loose low bun, a silk scrunchie or a smooth wrap can help reduce friction. Avoid tight elastics, which can dent the wave pattern and make the ends flick in odd directions.
If you are trying to preserve the shape for a second day, use less product on day one and refresh only the pieces that need help. Often, the front sections and top layer need a quick touch-up while the underneath still holds enough movement. For lower-heat routines between wash days, see our guide to sleeping in heatless curls without frizz.
Things readers ask
Is a 32 mm barrel the same as a 1.25-inch curling iron?
It is very close. Many tools are marketed internationally by inch size, while UK listings may use millimetres. For soft waves, the important point is that this is a larger barrel than a tight-curl tong.
Should I use a curling iron or a wand for soft waves?
Both can work. A clamp curling iron gives a smoother, more polished wave, while a wand can look looser and less uniform. If you get clamp marks, reduce tension and start curling from the mid-lengths.
Why do my waves drop so quickly?
The usual causes are sections that are too large, hair that was not fully dry, too much softening product, or brushing before the curl has cooled. Fine and very silky hair may also need lighter sections and a flexible hold spray.
Can I use this technique on extensions?
Yes, but check the extension manufacturer’s care instructions first. Use lower heat where recommended, avoid bonds or tapes, and be gentle when brushing out so you do not pull at the attachments.
How often can I style soft waves with heat?
That depends on your hair condition, colour history and routine. If your ends feel rough, stretchy or very dry, reduce heat styling, use lower settings and rotate in heatless methods where possible.
Final thoughts
The soft-wave finish comes from restraint: bigger sections, a lower starting point, less tension and patience while the hair cools. A large-barrel curling iron can look bouncy, beachy or polished depending on how you brush it out, so treat the first attempt as a calibration rather than a one-rule technique.
If your hair is fine, protect the root lift and avoid heavy finishing products. If it is thick or frizz-prone, focus on clean sectioning, smooth drying and a controlled brush-out. Once you find the right section size and cooling time, soft waves become one of the quickest heated styles to repeat at home.