Fine hair can look glossy after a hot brush, but it can also collapse within minutes if the roots are over-smoothed. The trick when you use a hot brush on fine hair is to build lift before you chase shine, then keep tension light through the ends. A few small changes to prep, sectioning and cooling make the difference between soft movement and a helmet-flat finish.
Think of the hot brush as a shaping tool, not a straightening iron. Fine hair usually needs air, space and direction at the roots first; the smoother, shinier finish should come last.
The short version
- Start with hair that is mostly dry unless your tool is specifically designed for damp drying.
- Apply lightweight heat protectant and keep heavy creams or oils away from the roots.
- Work in small, lifted sections rather than dragging the brush downwards from the scalp.
- Over-direct each root section up and away from where it naturally falls.
- Let each section cool in its lifted shape before touching or brushing through.
- Finish with a light mist or texture spray, not a wet, glossy spray that can weigh fine hair down.
Why hot brushes can flatten fine hair
Fine hair is not always thin hair. You can have lots of fine strands, or you can have both fine strands and low density. Either way, the individual hairs have less natural structure than coarse hair, so they are easier to bend, smooth and accidentally squash.
Flattening usually happens for one of four reasons: too much product at the root, starting with hair that is too wet for the tool, using the brush in a downward motion, or repeatedly polishing the same section until all the lift has gone. Fine hair often looks best when it is styled quickly and deliberately, rather than overworked.
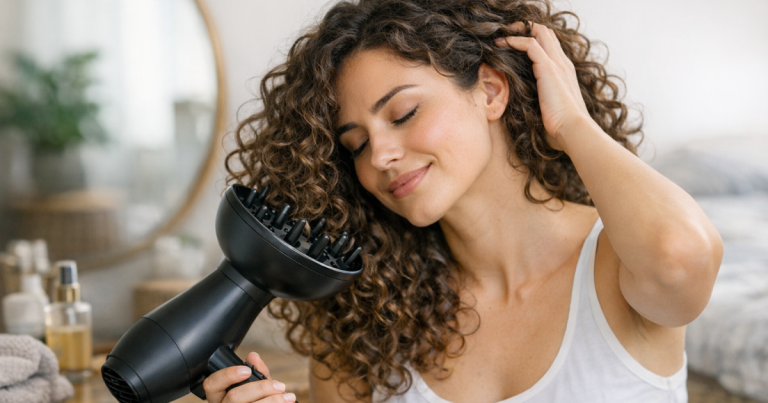
A hot air brush such as the Revlon One-Step Volumiser Plus is commonly used to dry and shape in one step, while a heated smoothing brush is generally used on dry hair only. Always check the instructions for your specific tool, because using the wrong hair dryness level can make fine hair limp, frizzy or unevenly styled.
Step 1: prep fine hair without weighing it down
Good hot brush volume starts before the brush touches your hair. Fine hair needs grip, but it rarely needs a lot of slip. If your roots feel silky, coated or oily before styling, the brush is more likely to smooth them flat.
Use the lightest useful product layer
- Use a fine mist heat protectant through the lengths and ends, then comb it through evenly.
- Apply root spray or mousse only where you need lift, usually at the crown, parting and front hairline.
- Skip heavy leave-in creams at the roots. If your ends need softness, use a tiny amount from mid-length down.
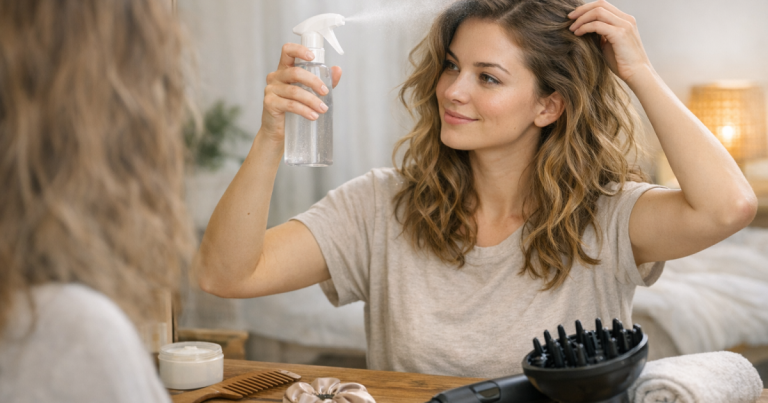
- If your hair gets oily quickly, style on freshly washed roots or refresh them with a small amount of dry shampoo before heat.
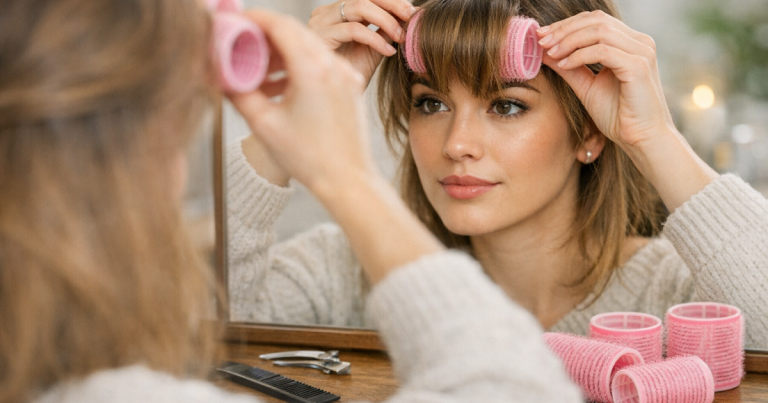
For extra root lift without relying on heat every time, it is worth learning how to set Velcro rollers for root lift without heat. They can also be used after hot brushing to hold the shape while hair cools.
Step 2: dry to the right point before styling
If you are using a hot air brush, fine hair usually responds best when it is rough-dried first until it is no longer dripping or heavy. Hair that is very wet takes longer to shape, and the repeated brushing can pull the roots down before they have a chance to set.
Use your fingers or a detangling brush to remove knots before styling, then lift the roots with your fingers as you rough-dry. Aim for the roots to feel light and movable. The ends can stay slightly damp if your hot air brush is designed for that, but they should not be saturated.
If you are using a heated brush rather than a hot air brush, start with dry hair. Fine hair can scorch or kink more easily when a dry-use tool is used on damp sections, and the result is often flatter rather than smoother.
Step 3: section for lift, not just neatness
Large sections are tempting because fine hair can look quick to style, but big sections often collapse at the root. Smaller sections give the brush something to hold and let you direct the roots properly.
- Take sections around 3 cm to 5 cm deep at the crown if your hair is low-density or very fine.
- Clip the top layers away so you can lift underneath, not just polish the surface.
- Work from the lower back sections upwards, leaving the crown and face-framing pieces until last.
- Keep the parting flexible while styling. A very fixed parting can make fine hair split and sit flat.
Duckbill clips or simple sectioning clips are useful here because they keep the hair organised without needing tight tension. Fine hair marks easily, so clip gently and avoid clamping damp front pieces too firmly.
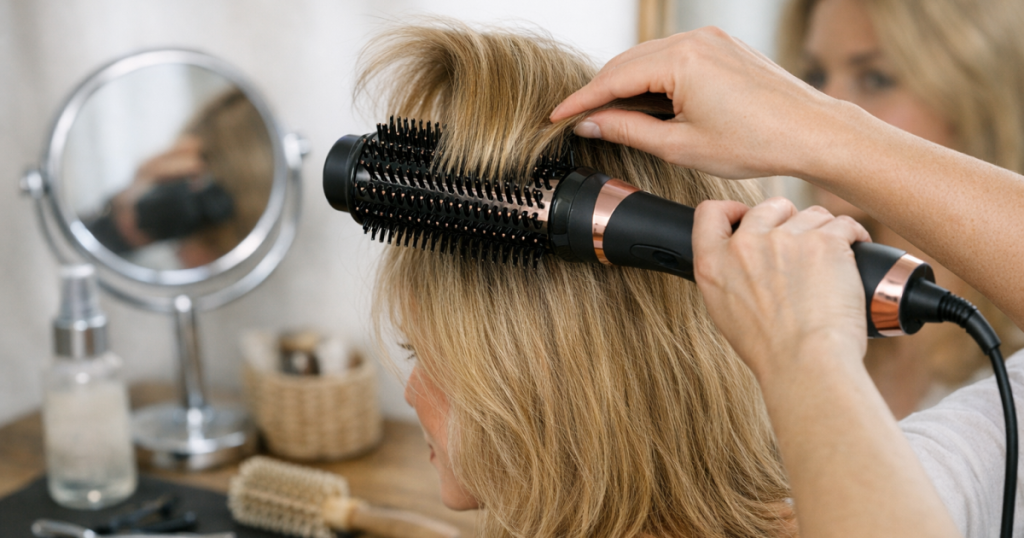
Step 4: lift the root before smoothing the ends
The root decides whether the finished style looks airy or flat. Place the brush underneath the section at the root, then lift the hair up and slightly backwards before moving through the lengths. This over-direction creates height that settles into a natural-looking shape.
Hold the section lifted for a few seconds, then slowly rotate or glide the brush through the mid-lengths. Do not pull straight down from the scalp unless your goal is a sleek, flat finish. Once you know how to use a hot brush this way, you can still get shine without sacrificing movement.
Root angles that work for fine hair
- At the crown, lift sections upwards and slightly forward, then let them fall back naturally.
- At the sides, direct hair away from the face if you want softness around the cheekbones.
- At the fringe or front layers, lift the roots back first, then curve the ends where you want them to sit.
- For a centre parting, style the top sections slightly across the parting before allowing them to separate.
Tools with a round or oval barrel, such as the BaByliss Hydro-Fusion Air Styler, can help create curved ends and root lift when used with upward direction. The key is not the name of the tool but how much you lift, how small the section is, and whether you let the shape cool before disturbing it.
Step 5: keep tension light through the lengths
Fine hair can go limp when it is stretched too tightly. Use enough tension to smooth frizz and guide the section, but not so much that you pull all the body out. If the hair looks too straight and close to the head after each pass, reduce tension and slow down at the root instead.
One pass at the root and one pass through the ends is often enough for fine hair. Repeating the same section again and again may add shine for a moment, but it can remove bounce and make the finished shape drop sooner.
For different fine hair patterns
- Fine straight hair: focus on root lift and a slight bend at the ends rather than trying to create a full blow-dry shape on every layer.
- Fine wavy hair: smooth the canopy lightly, but avoid brushing the waves until they disappear. Twist the ends around the barrel for a softer finish.
- Fine curly hair: use a hot brush sparingly if you want a stretched blow-dry effect. For curl definition, diffusing is usually kinder to the pattern.
- Fine, low-density hair: keep the top layers airy and avoid styling all hair in the same direction, which can reveal gaps at the scalp.
If your aim is more of a soft bend than a blow-dried curve, the technique is different. The guide to using straighteners for soft waves on fine hair explains how to add movement without dragging the roots flat.
Step 6: cool the shape before you brush it out
Fine hair often loses volume because it is touched too soon. Heat makes the hair flexible; cooling helps it hold the new position. After lifting a root section, slide the brush out gently and hold the section up for a few seconds, or clip it loosely while it cools.
For the crown, you can wrap the warm section around two fingers, place it back towards the scalp and secure it with a clip. This gives a similar setting effect to a roller without adding much tension. Let it cool fully while you style the sides or front.
A multi-styler such as the Shark FlexStyle Air Styling and Drying System may offer different attachments for smoothing and shaping, but fine hair still follows the same rule: lift first, smooth second, cool before touching.
Step 7: finish without collapsing the volume
Finishing products can undo the whole style if they are too wet or too rich. Fine hair usually needs flexible hold rather than a lacquered surface. Mist from a distance, then let the spray dry before arranging the hair with your fingers.
- Use texture spray at the roots if the hair looks too silky or separated.
- Use a light hairspray through the crown, not a heavy gloss spray all over.
- Apply oil only to the very ends if they look fluffy, and use less than you think.
- Flip the parting slightly off-centre if your roots have settled too neatly.
- Avoid brushing from root to tip after styling. Use fingers or a wide-tooth comb on the ends only.
On the next day, do not automatically restyle every section with heat. Fine hair often revives better with targeted root refreshes and a little reshaping through the front. For a low-effort reset, use these tips to revive second-day waves without rewashing.
Common mistakes that make fine hair look flat
- Starting with roots that are too damp: the brush spends too long pulling at the heaviest part of the hair.
- Using too much smoothing product: fine hair can look greasy or stringy even when the product is technically lightweight.
- Brushing downwards from the scalp: this polishes the hair but removes lift where it matters most.
- Taking sections that are too wide: the outer hair gets smoothed while the roots underneath stay unsupported.
- Skipping the cooling stage: warm hair drops quickly, especially around the crown.
- Over-polishing the top layer: too many passes can make fine hair look thinner, not sleeker.
Helpful questions
Can I use a hot brush every time I wash fine hair?
You can, but fine hair is usually happier with a balanced routine. Use heat protectant, keep the brush moving, avoid repeated passes and give your hair heat-free days when possible.
Should I use mousse before a hot brush?
A small amount of lightweight mousse can help fine hair hold volume, especially at the roots. Apply it sparingly and dry the roots until they feel light before styling.
Why does my crown go flat even when the ends look good?
The crown needs over-direction and cooling. Lift the section upwards and slightly forward, warm the root, then clip or hold it lifted until it cools before letting it fall.
Is a hot brush better than a hairdryer and round brush for fine hair?
It depends on your coordination and the finish you want. A separate dryer and round brush can give strong root lift, while a hot brush is easier for smoothing and shaping at home.
How do I stop the front pieces from going limp?
Style them last, use very little product, lift the roots back from the face, and let them cool before arranging the parting. Avoid pulling them straight down while warm.
Key takeaways
Fine hair needs structure before shine. Prep lightly, dry to the right stage, work in smaller sections and direct the roots upwards before smoothing the ends. The most important habit is patience at the cooling stage: if the root cools lifted, the finished style has a much better chance of staying lifted too.
A hot brush can be a genuinely useful at-home tool for fine hair, but it works best when you treat it as a volume-setting tool rather than a smoothing shortcut. Lift first, polish lightly, and stop before the hair starts looking too perfect and too flat.