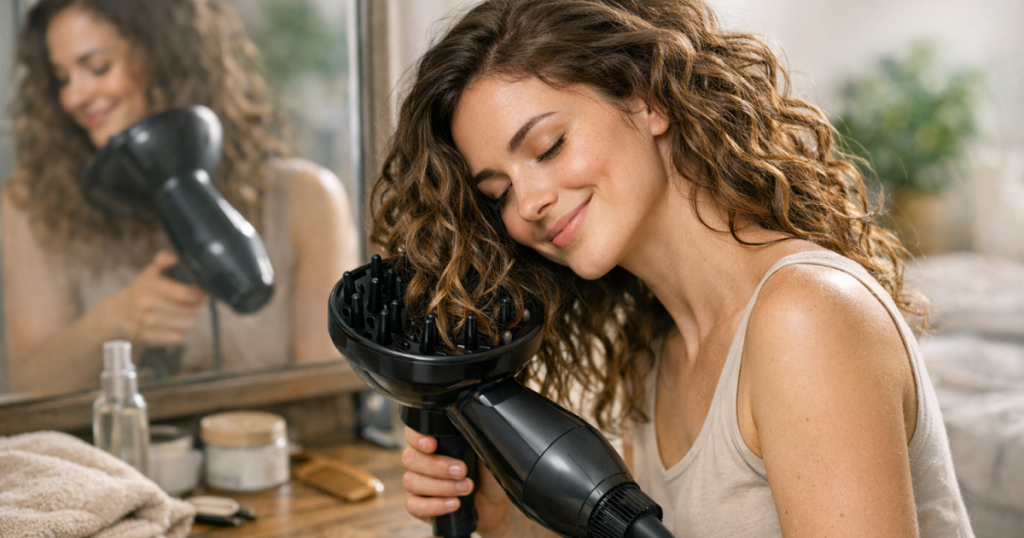
Frizz usually appears when waves are disturbed before they have settled. Using a diffuser on wavy hair helps spread airflow more gently than a bare dryer nozzle, but the result depends on prep, angle, heat and how much you touch your hair. The aim is not to force curls into place; it is to dry the wave pattern you already have without roughing up the cuticle.
The best results come from a calm routine: apply product to wet hair, remove excess water carefully, hover first, then cup the waves only when they have started to set. If your waves look fluffy, stretched or uneven after diffusing, the issue is usually technique rather than the diffuser itself.
What to know first
- Start wetter than you think: waves usually clump better when styling product is applied to properly wet hair, not hair that is already half-dry.
- Use lower airflow: high blast settings move the hair around too much and can separate wave clumps before they form.
- Hover before you scrunch: holding the diffuser near the hair dries the outside layer slightly before you lift sections into the bowl.
- Stop touching too early: hands, towels and constant checking are common causes of halo frizz.
- Match the method to your hair: fine waves need less product and less cupping; thick or coarse waves usually need more water, more sectioning and more patience.
Step 1: Set up the hair before the dryer goes near it
Diffusing is not a rescue step for poorly prepped waves. It works best when the wave clumps are already organised. After washing or refreshing, detangle gently while the hair is wet and has enough slip. A wide-tooth comb, flexible detangling brush or your fingers can work, but avoid dragging through partially dried waves because that tends to create fluffy ends.
Apply your leave-in, curl cream, mousse or gel while the hair is still wet. For fine waves, choose lighter layers and concentrate on mid-lengths and ends so the roots do not collapse. For medium-density waves, a small amount of cream followed by mousse or gel can give hold without stiffness. For thick, coarse or porous waves, make sure the hair feels evenly coated and hydrated before drying; dry patches often turn into frizz patches.
Once product is in, encourage clumps with gentle scrunching. Use an old cotton T-shirt or microfibre towel to blot rather than rub. The aim is to remove drips without pulling the clumps apart. If you need the basic attachment technique alongside this frizz-focused routine, the site’s guide to using a diffuser attachment on wavy hair gives a broader step-by-step foundation.
Step 2: Choose the right heat and airflow combination
For frizz control, airflow matters as much as heat. A hot, forceful blast can make the outer layer dry quickly while the underneath stays damp, leaving waves puffy rather than defined. Start with low or medium airflow and low to medium heat. If your dryer has a cool setting, use it at the end of each section or at the very finish to help the hair feel more settled.
Fine, low-density waves often do best with low heat and low airflow because the hair dries quickly and loses shape easily. Medium-density waves can usually handle medium heat if the airflow stays controlled. Thick, dense waves may need longer drying time rather than more force; sectioning and patience usually give a smoother result than turning everything to the highest setting.
If you are using a dryer with a separate diffuser attachment, check that the diffuser fits securely before you start. A loose attachment can shift while you dry, which encourages awkward angles and extra handling. A deep bowl can help gather longer or denser waves, while a shallower diffuser may feel easier around short layers, fringes and finer hair.
Step 3: Hover-dry the roots and surface first
The hover stage is the part many people skip, and it is often the difference between soft definition and frizz. Hold the diffuser close to the hair without pushing the lengths into the bowl. Move around the head slowly, letting gentle airflow dry the surface and roots for a few minutes.
Keep your head upright at first if your roots go flat easily. If you flip your head upside down immediately, the top layers can fall in different directions and dry messily. Once the wave clumps have a light cast or feel less fragile, you can tilt your head to one side and begin working on the lengths.
Do not rake, shake or separate at this stage. If a section looks odd, leave it until it is more dry before adjusting. Wet waves are easy to disturb, and every adjustment can create smaller flyaway pieces around the crown and temples.
Step 4: Cup the waves without crushing them
When the hair is partly dry, bring a section of ends into the diffuser bowl and lift it towards the scalp. Turn the dryer on once the hair is in place, then hold still. Switching the airflow on before the section is settled can blow the ends around and break up the pattern.
Hold each section for a short pause, then switch the dryer off before lowering the diffuser. This on-off rhythm feels slower, but it reduces friction and keeps the wave clumps intact. Work around the head in sections rather than bouncing randomly from side to side.
For looser 2A waves, avoid pushing the bowl too firmly into the scalp; it can create bends that look uneven rather than natural. For 2B and 2C waves, cupping can encourage stronger S-shaped definition, but heavy product and too much scrunching can still make the finish feel stiff. If your waves sit between wavy and curly, treat the underneath more gently, as it often tangles and frizzes faster than the top layer.
Step 5: Dry to the right point, then leave it alone
Stopping too early can make waves drop; drying too aggressively can make them frizz. A useful target is to diffuse until the hair is mostly dry, then let the final dampness air-dry. If you have used gel or mousse, the hair may feel slightly firm while drying. That is not automatically a problem; the cast can protect the wave shape until the hair is fully dry.
Only scrunch out any stiffness once the hair is completely dry. Use clean hands, a tiny amount of lightweight oil if your hair tolerates it, or simply scrunch through the lengths without adding anything. If you break the cast while the inside of the waves is still damp, the finish can turn soft but fuzzy.
Small technique changes by hair type
Fine or easily weighed-down waves
Use less leave-in and avoid rich creams near the root. Start drying upright, lift small sections at the root with your fingers only once the hair is partly dry, and keep the diffuser moving slowly rather than pressing it into the scalp. If you need clips for root lift, choose smooth, lightweight clips and remove them before they leave dents.
Thick or high-density waves
Work in sections so the underneath is not left damp for too long. Re-wet any dry surface patches with a misting spray before diffusing, because product works more evenly when there is enough water in the hair. Dense hair can look dry on the outside while staying wet inside, so take your time instead of increasing the airflow aggressively.
Coarse, porous or colour-treated waves
Prioritise moisture and hold. These hair types can lose water quickly, which makes the outer layer look rough even when the shape is good. A leave-in plus a defining product can help, but the exact balance depends on how your hair responds. If the ends look wiry after diffusing, try blotting less water out before styling rather than adding more product afterwards.
Low-porosity waves
Use lighter layers and make sure product is distributed evenly. Low-porosity hair can feel coated if too much cream or gel sits on the surface. Diffuse gently for longer and avoid overloading the roots. If your waves take a long time to dry, sectioning often helps more than stronger heat.
If you are unsure whether your issue is strand texture, density or both, the guide to how hair density and texture work together can help you adjust tools and technique more accurately.
Common frizz triggers while diffusing
- Starting on hair that is too dry: this creates stringy clumps and a fuzzy surface. Add water before adding more styling product.
- Using high airflow from the start: the hair moves before the shape has set, especially around the crown.
- Touching the roots constantly: root lift is useful, but too much picking while damp creates halo frizz.
- Rubbing with a towel: friction raises the cuticle and disrupts the wave pattern before drying begins.
- Over-cupping fine waves: too much pushing into the bowl can make soft waves collapse or bend oddly.
- Breaking the cast too soon: waves may feel producty while drying, but disturbing them early usually causes fuzz.
When a diffuser is not the best route
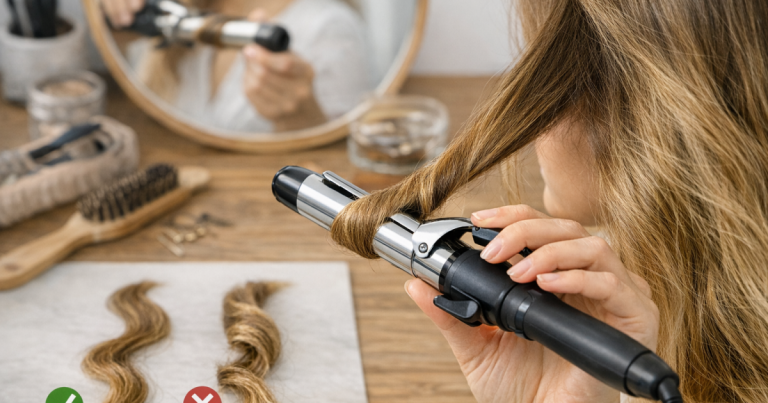
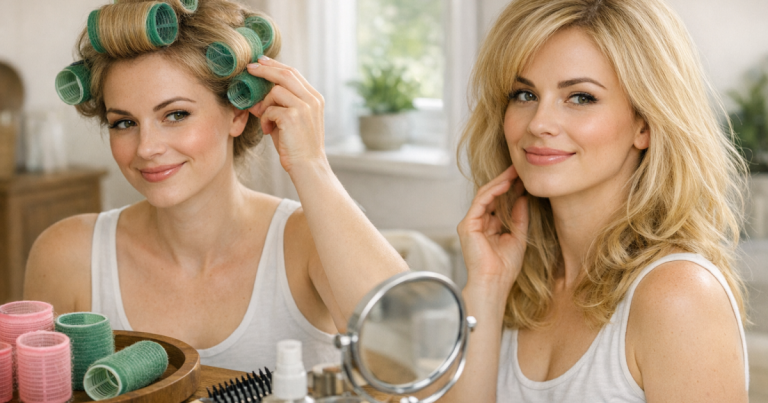
A diffuser is useful when you want quicker drying, more root lift or stronger wave definition. It is less useful when your hair is already overloaded, when you want an ultra-smooth finish, or when your scalp and roots need a full reset rather than a styling refresh. On days when you want softer, stretched waves, heatless methods such as loose braiding, a satin heatless curling rod or large rollers may give a calmer result with less handling.
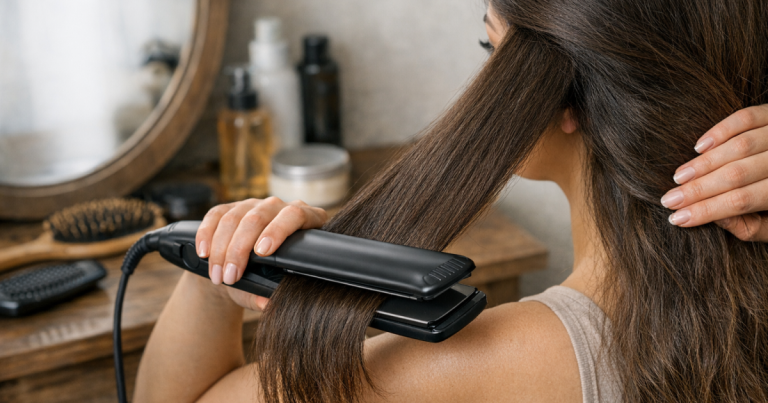
For a different finish entirely, match the method to the outcome rather than forcing one tool to do everything. The styling tool selection guide for soft waves, glass hair and root lift is useful when you are deciding whether diffusing, smoothing or heatless shaping makes more sense for the look you want.
Helpful questions
Should I diffuse wavy hair upside down?
You can, but it is not always the best starting point. Fine or flat roots may benefit from upside-down drying once the waves have partly set. If your top layer frizzes easily, begin upright, hover-dry first, then tilt your head side to side for lift.
Why does my hair go frizzy even with a diffuser?
The most common reasons are too much airflow, not enough water during product application, towel friction or touching the hair before it is dry. The diffuser softens the air, but it cannot fix clumps that have already been separated.
Is mousse or gel better before diffusing?
Mousse is usually lighter and better for volume, while gel usually gives more hold and frizz control. Many wavy routines use one or the other; some use both, with a light hand. Fine hair often needs less product than thick or porous hair.
How dry should my hair be before I stop diffusing?
Mostly dry is usually enough. Letting the last bit air-dry can reduce heat exposure and help the finish settle. Avoid scrunching, brushing or separating until the hair feels fully dry.
Can I use a diffuser on wavy hair every wash day?
Yes, if your hair tolerates it and you use gentle heat and airflow. If your ends start feeling rough or your colour looks dull, alternate with air-drying or heatless styling and review your prep products.
What to remember
Frizz-free diffusing is mostly about restraint. Start with wet, well-prepped hair, use controlled airflow, hover before cupping, and keep your hands out of the waves until they are dry. The right routine should leave your natural pattern more visible, not crunchy, stretched or blown apart.
If your results are inconsistent, change one variable at a time: water level, product amount, airflow, drying angle or how early you touch the hair. That makes it much easier to find the version of diffusing that suits your wave pattern, density and everyday routine.