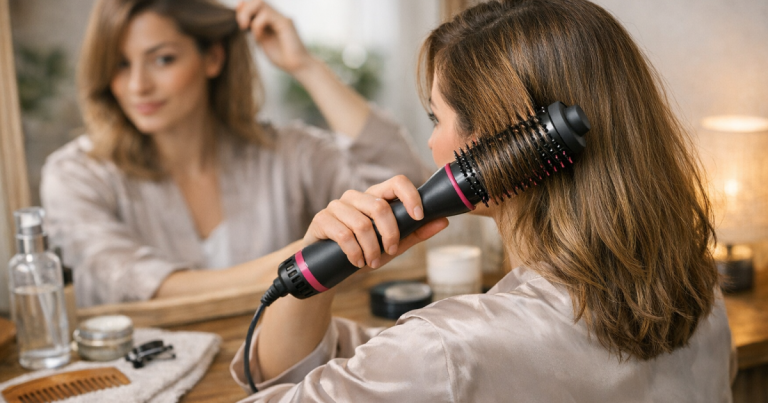
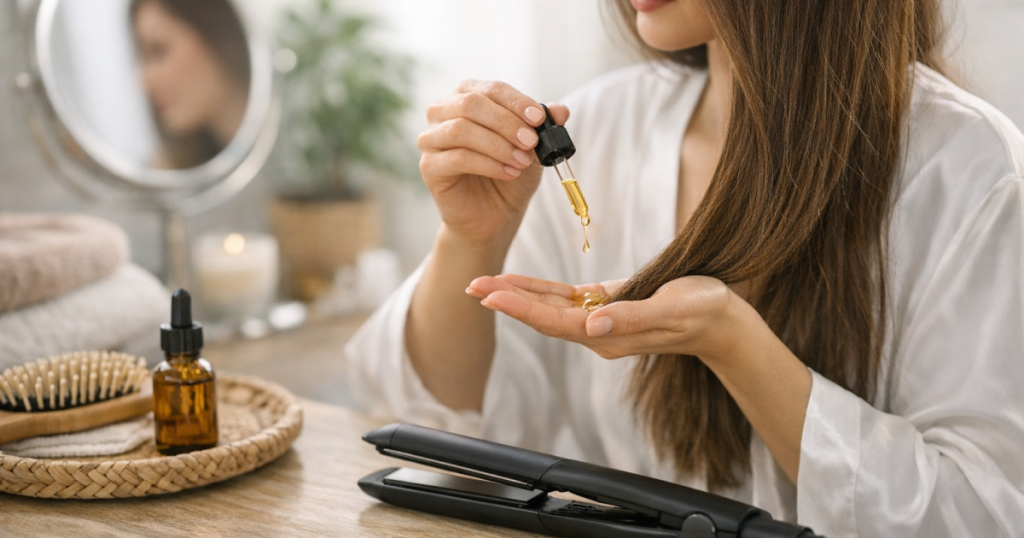
Oil can make straightened hair look smoother, glossier and less fluffy, but it can also turn fresh hair limp within minutes if you apply it like a treatment. The trick with hair oil before straightening is to treat it as a finishing-support step, not a replacement for heat protection or a leave-in mask. Use less than you think, keep it away from the roots, and adjust the timing to your hair type.
The short version
- Use oil only on clean, fully dry hair before straightening.
- Apply it from mid-lengths to ends, never directly onto the scalp or root area.
- Start with half a drop to one drop for fine or shoulder-length hair, then add more only if needed.
- Use a separate heat protectant unless the product label clearly says it protects against heat styling.
- If your hair goes flat easily, apply oil after straightening instead of before.
Step 1: Decide whether oil belongs before or after heat
Not every head of hair benefits from oil before a straightener. Fine, low-density or naturally silky hair often looks best when oil is used after straightening as a tiny finishing layer. Medium, coarse, dry, bleached or frizz-prone hair may cope better with a small amount beforehand, especially through the ends where heat styling tends to show dryness first.
Texture matters too. Straight and softly wavy hair usually needs less oil because there is less natural lift and shrinkage to control. Curly, coily or high-porosity hair may need more slip and sealing, but that does not mean soaking the hair. If you are still working out whether your styling routine matches your texture, density and finish goals, this guide to matching styling goals and tools to your hair type is a useful next step.
Step 2: Start with the right base
Oil works best on hair that is already conditioned, detangled and dry. If the hair is under-conditioned, oil can make the surface look shiny while the lengths still feel rough. If the hair is overloaded with conditioner, mask residue, dry shampoo or styling cream, oil can tip it into greasiness before the straighteners even reach it.
Wash and condition as normal, then detangle gently. A lightweight leave-in or heat protectant can help reduce drag, but avoid layering multiple rich products if your goal is swingy, straight hair. For dry, heat-styled hair that feels rough even after washing, it is worth reviewing the conditioning step first; this conditioner review for dry, heat-styled hair shows the kind of softness, slip and residue questions to think about before adding more finishing products.
Step 3: Use heat protection separately
Hair oil is not automatically a heat protectant. Some oil-serum formulas are designed to be used before blow-drying or heat styling, while others are mainly for shine, smoothing or finishing. Check the packaging rather than assuming an oil protects against straightener temperatures.
A safe, practical order for most routines is: wash, condition, apply heat protectant as directed, dry the hair fully, then use a very small amount of oil on the mid-lengths and ends before straightening. If your product label says to use it only on damp hair or only after styling, follow that direction instead.
Step 4: Measure the oil properly
The most common mistake is using a pump as the default amount. A full pump can be far too much for fine or medium hair, depending on the formula. Start smaller than the product suggests if your hair gets greasy easily.
- Fine or low-density hair: rub a trace between your palms, then touch only the ends. If you can see obvious oil on your hands, it is probably too much.
- Medium hair: use around half a drop to one drop, spread fully across both palms, then skim over the lower half of the hair.
- Thick or coarse hair: use one small amount per side rather than one large amount all over. This gives more even control.
- Very long hair: split the hair into left and right sections and apply lightly from around ear level down, concentrating on the oldest ends.
Warm the oil between your palms until your hands look lightly sheeny rather than wet. Press it into the ends first, then use whatever remains over the mid-lengths. Do not start at the crown.
Step 5: Keep oil away from the roots
Greasy-looking straight hair is usually caused by oil near the scalp, too much product at the front hairline, or repeated passes with straighteners over product-heavy roots. Keep oil at least a few centimetres away from the root area unless your hair is extremely coarse and dry.
For face-framing pieces, use the residue left on your hands rather than adding fresh oil. The front sections are usually finer and handled more often, so they show greasiness quickly. If your main straightening issue is denting or clamping near the scalp, fix the iron angle rather than adding oil; this tutorial on stopping straighteners leaving kinks near the roots explains that problem more directly.
Step 6: Let the oil settle before straightening
After applying oil, wait a couple of minutes before using straighteners. The hair should feel smooth, not damp, slick or coated. If it separates into stringy pieces before heat is applied, blot lightly with a clean microfibre towel or brush through with a clean detangling brush to redistribute the product.
Never straighten wet or visibly damp hair. If you hear sizzling, see steam that looks more than normal product evaporation, or feel the plates dragging, stop and let the hair dry fully. Straighteners work more evenly when the section is dry, clean and lightly tensioned.
Step 7: Straighten in smaller sections, not hotter passes
Oil will not compensate for sections that are too thick. Dense hair can look puffy after straightening because heat has smoothed the outside of the section while the inner layers remain textured. Work in manageable sections so the plates can glide through once or twice without repeated clamping.
Use the lowest effective heat setting for your hair and tool. Fine, fragile or colour-treated hair usually needs a more cautious approach than coarse, resistant hair. Rather than relying on oil to make the iron glide, make sure the hair is detangled, the plates are clean, and each section is narrow enough for even contact.
Which oil textures are least likely to look greasy?
Lightweight oil-serums tend to be easier before straightening than heavy, raw oils. Cosmetic oil blends often spread more evenly because they are designed for hair feel, shine and slip. Pure oils can work for some thick or textured hair types, but they are easier to overapply and may sit heavily on fine hair.
Examples of oil-serum textures people often consider include Moroccanoil Treatment Light and Kérastase Elixir Ultime L’Huile Originale. Treat these as examples of the category rather than automatic fits for every routine: check the usage directions, whether the formula is intended before heat, and how your hair behaves with silicones, fragrance and richer oils.
Hair-type adjustments that prevent limpness
Fine straight hair
Use oil after straightening unless your ends are noticeably dry. If applying before, use the smallest possible trace and keep it below the chin. A light mist heat protectant plus a finishing touch of oil is often cleaner than oil layered heavily before heat.
Wavy hair that frizzes
Apply a tiny amount through the outer mid-lengths and ends, then straighten in smaller sections. If waves spring back quickly, the issue may be section size, humidity or lack of tension rather than not enough oil.
Thick, coarse or high-density hair
Work in layers. Apply a small amount to each side of the head instead of one large dose to the top layer. Concentrate on the ends, where dryness and puffiness are most visible after straightening.
Curly or coily hair
Oil should help reduce roughness, not replace moisture. Make sure the hair has been conditioned well, stretched or blow-dried smoothly if that is part of your routine, and dried fully before straightening. Use oil sparingly near the ends, then reassess after the style has cooled.
Signs you used too much
- The hair separates into shiny strings instead of falling in soft sections.
- Your roots look darker or flatter than the lengths.
- The straighteners feel as though they are sliding over a coated surface rather than gliding cleanly.
- The style loses movement within an hour.
- You feel tempted to add dry shampoo immediately after styling.
If this happens, do not keep adding heat. Brush through, use a clean towel to absorb surface residue, and style the hair into a low bun, ponytail or tucked shape if needed. Next time, halve the amount and apply it lower down.
Things readers ask
Can I use hair oil before straightening every time?
You can use hair oil before straightening if your hair stays light, smooth and clean-looking, but it is not compulsory. Fine or oily hair may look better with oil only after styling.
Should oil go on wet or dry hair before using straighteners?
Only use straighteners on fully dry hair. Some oils can be applied to damp hair before blow-drying, but the hair still needs to be completely dry before straightening.
Does oil stop heat damage?
Oil alone should not be treated as heat protection unless the product says it is designed for that purpose. Use a proper heat protectant and sensible straightener settings.
Why does my hair look greasy at the front but dry at the ends?
The front sections are usually finer and pick up skincare, touch and scalp oil quickly. Apply product to the ends first, then use only hand residue on face-framing pieces.
Main lessons
The cleanest way to use oil with straighteners is to think in traces, not pumps. Prep the hair properly, use heat protectant separately, keep oil below the root area and apply it mainly where the hair is driest. If your style turns limp, move the oil to the finishing stage instead. Smooth straight hair should still have movement; when the balance is right, the oil is almost invisible, but the softness and shine are easier to see.