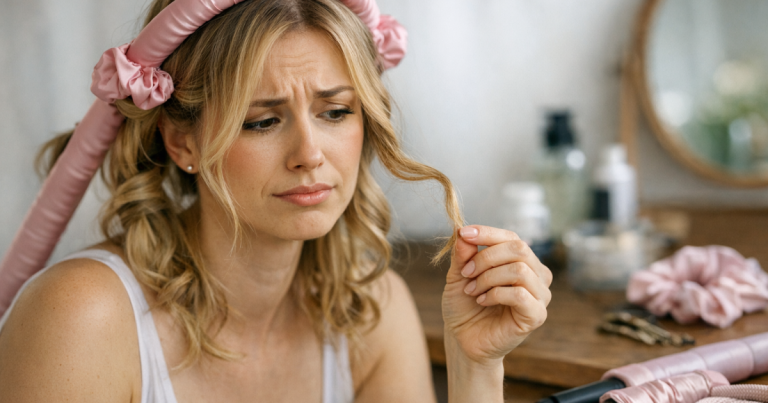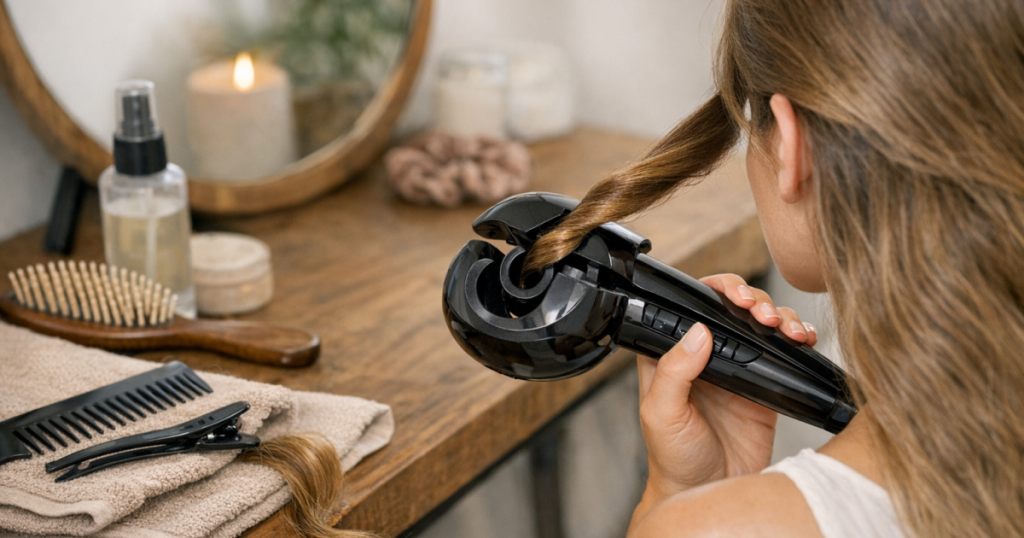
The safest way to use BaByliss Curl Secret without tangles is to feed in small, smooth, fully dry sections and let the chamber take the hair without pushing. Most snags happen because the section is too wide, twisted, damp, or loaded with sticky product.
Think of it less like a normal tong and more like a tool that rewards neat sectioning. Once your prep is right, it can create consistent curls with less wrist work, but it is less forgiving than a tong if your hair is knotty or unevenly sectioned.
At a glance
- Use clean, dry, detangled hair only; damp hair is more likely to catch and crease.
- Keep each section narrow and flat rather than thick, bunched or rope-like.
- Start lower down the hair if your roots are dense, curly or prone to tangling.
- Do not push hair into the chamber; guide it gently and let the tool draw it in.
- If the tool stops, beeps or feels stuck, release immediately rather than pulling.
Step 1: Start with the right hair condition
The Curl Secret works best on hair that is completely dry, brushed through and free from heavy styling residue. If your hair feels tacky from mousse, strong-hold hairspray, gel or dry shampoo build-up, the strands are more likely to clump together as they enter the curl chamber.
For fine hair, keep prep light: a heat protectant mist and a gentle brush-through are usually enough. For thick or coarse hair, blow-dry or air-dry until the hair is fully dry all the way through, not just dry on the surface. For wavy or curly hair, stretch or smooth the section slightly before curling if your natural pattern causes the ends to loop back on themselves.
A small amount of smoothing oil can help frizz-prone lengths, but keep it away from the roots and do not overdo it before heat styling. If you like a glossy finish after curling, use oil sparingly once the curls have cooled; our Moroccanoil Argan Oil Hair Treatment review explains the shine benefits and the weight trade-offs for different hair types.
Step 2: Detangle more thoroughly than you think you need to
A quick surface brush is not always enough. The hair needs to pass into the chamber as a clean, separated ribbon, so hidden knots underneath the section can cause the tool to pause, tug or release an uneven curl.
Work from the ends upwards with a detangling brush or wide-tooth comb, then smooth the full length from root to tip. Pay particular attention to the nape, crown and face-framing pieces, as these areas often hold tiny knots from scarves, collars, sleeping and previous styling.
If you are using a BaByliss Curl Secret on layered hair, check that the shorter pieces are not escaping from the section. Loose shorter hairs can wrap at a different angle and create that awkward half-caught feeling.
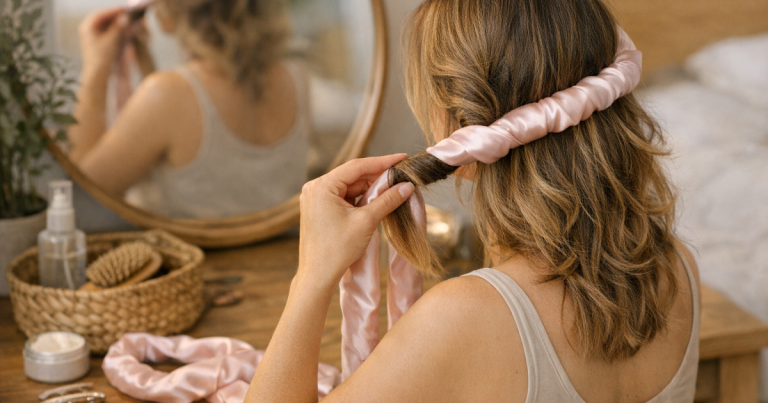
Step 3: Make the sections smaller, flatter and cleaner
Section size is the biggest difference between easy curls and tangles. A normal curling tong can cope with a slightly chunky section because you wrap the hair yourself. An automatic curl chamber needs a neater section so the hair can be drawn in evenly.
As a rule, use less hair than you would with a wand. The section should feel light, smooth and flat between your fingers. If it looks puffy, twisted or triangular, split it again. For dense hair, clip the top layers away and work in horizontal rows from the nape upwards. For fine hair, smaller sections also help avoid limp, uneven curls because the heat reaches the hair more consistently.
Duckbill or sectioning clips can make this easier on thick hair because they keep the rest of your hair out of the chamber area. If your blow-dry or styling routine gets chaotic at the sectioning stage, the comparison of duckbill clips vs sectioning clips for thick hair blow-dries is useful for choosing what keeps your hair most controlled.
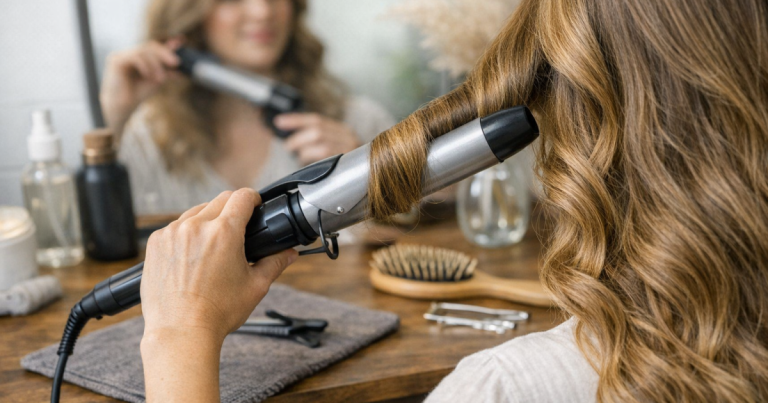
Step 4: Feed the hair in from a smooth angle
Hold the section by the ends and keep it lightly taut, not stretched hard. Place the section into the opening as a flat ribbon. The hair should enter straight; if you twist your wrist or approach from an awkward angle, the section can bunch before the chamber starts curling.
Do not shove the hair into the tool. Let the mechanism take the section. If the hair does not glide in smoothly, stop and reset rather than trying to force it. For long hair, start with the tool slightly lower down the length instead of right at the roots. This reduces the amount of hair being pulled in at once and gives you more control over the ends.
Keep the tool steady while it curls. Moving it around mid-curl can disturb the wrap inside the chamber, especially on slippery fine hair or layered cuts.
Step 5: Match the technique to your hair type
Fine or low-density hair
Fine hair can tangle if the section is too wispy or if loose flyaways enter the chamber separately. Smooth each section with your fingers first, use a light heat protectant rather than heavy cream, and avoid curling sections that are too wide just to make the hair look fuller. Volume is better added afterwards by gently lifting at the roots once curls have cooled.
Thick or coarse hair
Thick hair needs smaller sections and more patient clipping. If a section feels heavy in your fingers, it is too much for a neat automatic curl. Work in layers and resist the temptation to rush the back. The nape is where thick hair most often tangles because it is easy to grab too much at once.
Wavy or curly hair
Natural texture can make the ends hook around themselves before the curl begins. Detangle carefully, smooth the section, and consider lightly stretching the hair with a brush or blow-dry first if you want a polished curl. If you prefer keeping your natural wave pattern, a diffuser may be a better option than automatic curling on some wash days; see our advice on diffusing curly hair without creating frizz for a lower-manipulation route.
Layered or shoulder-length hair
Shorter layers need extra care because uneven ends can slip into the chamber at different moments. Keep the section compact, hold the very ends together, and start with the longer lower layers while you get used to the rhythm.
Step 6: Release correctly and let the curl cool
When the curl is ready, open or move the tool away according to your model’s instructions and let the curl drop out. Do not drag the tool down the hair like a straightener. Dragging can rough up the curl, pull at the ends and undo the smooth wrap you have just created.
Once released, avoid brushing the curl immediately. Let it cool in its shape for a few minutes. If you want softer waves, separate curls with your fingers once the whole head is finished. For a more polished look, use a tiny amount of finishing oil or serum on the palms and skim over the surface rather than raking through from the root.
What to do if your hair catches
If the tool beeps, pauses or feels as though it has caught, stop pressing or closing it straight away. Release the curl chamber as instructed for your model and gently remove the section. Do not yank the hair, as this can tighten the tangle and roughen the cuticle.
Once the hair is free, comb through that section before trying again. Usually the cause is one of four things: too much hair, a hidden knot, a twisted section, or ends that were not held together. If the same area keeps catching, move on and let it cool before restyling. Repeated heat on one stubborn section can leave it feeling dry and frizzy.
Common mistakes that cause tangles
- Using damp hair: even slightly damp lengths can grip and crease inside the chamber.
- Skipping underneath knots: the top layer may look smooth while the underside is still tangled.
- Taking sections that are too wide: automatic curlers need neat, modest sections.
- Using sticky styling products first: strong hold products are usually better after curling, not before.
- Starting too close to the scalp: dense roots can make the section enter at a bulky angle.
- Pulling the curl out: release and let it drop instead of dragging the tool downwards.
How it compares with a normal curling tong
The main benefit of the Curl Secret is consistency: once your sectioning is right, the tool does much of the wrapping for you. The trade-off is control. With a curling tong, you can see exactly how the hair sits on the barrel and adjust the angle as you go. With an automatic chamber, you have to prepare the section properly before it disappears inside.
If you prefer more visible control, or if your hair is very long, very layered or easily knotted, a tong may feel less stressful. It has its own technique issues, though, particularly clamp creases; our guide to using a curling tong without clamp marks covers the small hand-positioning changes that make a big difference.
FAQ
Why does my hair keep getting stuck in the Curl Secret?
The usual reason is that the section is too large, twisted or not fully detangled. Try halving the amount of hair, smoothing it into a flat ribbon, and checking the ends before feeding it in.
Can I use it on freshly washed hair?
Yes, but the hair must be completely dry. Very soft freshly washed hair may need a light heat protectant or flexible styling spray for grip, but avoid anything sticky or heavy before curling.
Is it suitable for curly hair?
It can work on curly hair if the section is detangled and smoothed first. If your curls are fragile, highly textured or prone to single-strand knots, use smaller sections and avoid repeated passes.
Should I brush curls out afterwards?
Only after they have cooled. Use fingers for soft separation, or a very gentle brush-through if you want waves rather than defined curls.
Can it damage hair if it tangles?
Any heated tool can cause dryness or breakage if used repeatedly on caught, knotted or product-heavy hair. Release snags gently, reduce section size, and avoid reheating the same piece again and again.
What stands out
Tangle-free results come down to preparation more than pressure. Dry hair fully, detangle in layers, use smaller sections than you expect, and let the tool take the hair at its own pace. If your hair type needs more control than the chamber allows, switch between automatic curling, a tong, diffusing or heatless styling depending on the finish you want that day.